• Work
  • About
  • Press
  • Store
Menu

hi tree!

  • Work
  • About
  • Press
  • Store

How to become the McGyver of Pom Poms

September 25, 2014

Hey Guys! After months of cleaning up, migrating to squarespace and seemingly endless redesigns, I'm super excited to be relaunching my blog! I thought it would be nice to start off with a lovely little lesson on how to make A LOT of pom poms all at once. I think the technical term is butt load, but whatever gets the point across. 

So here we go!

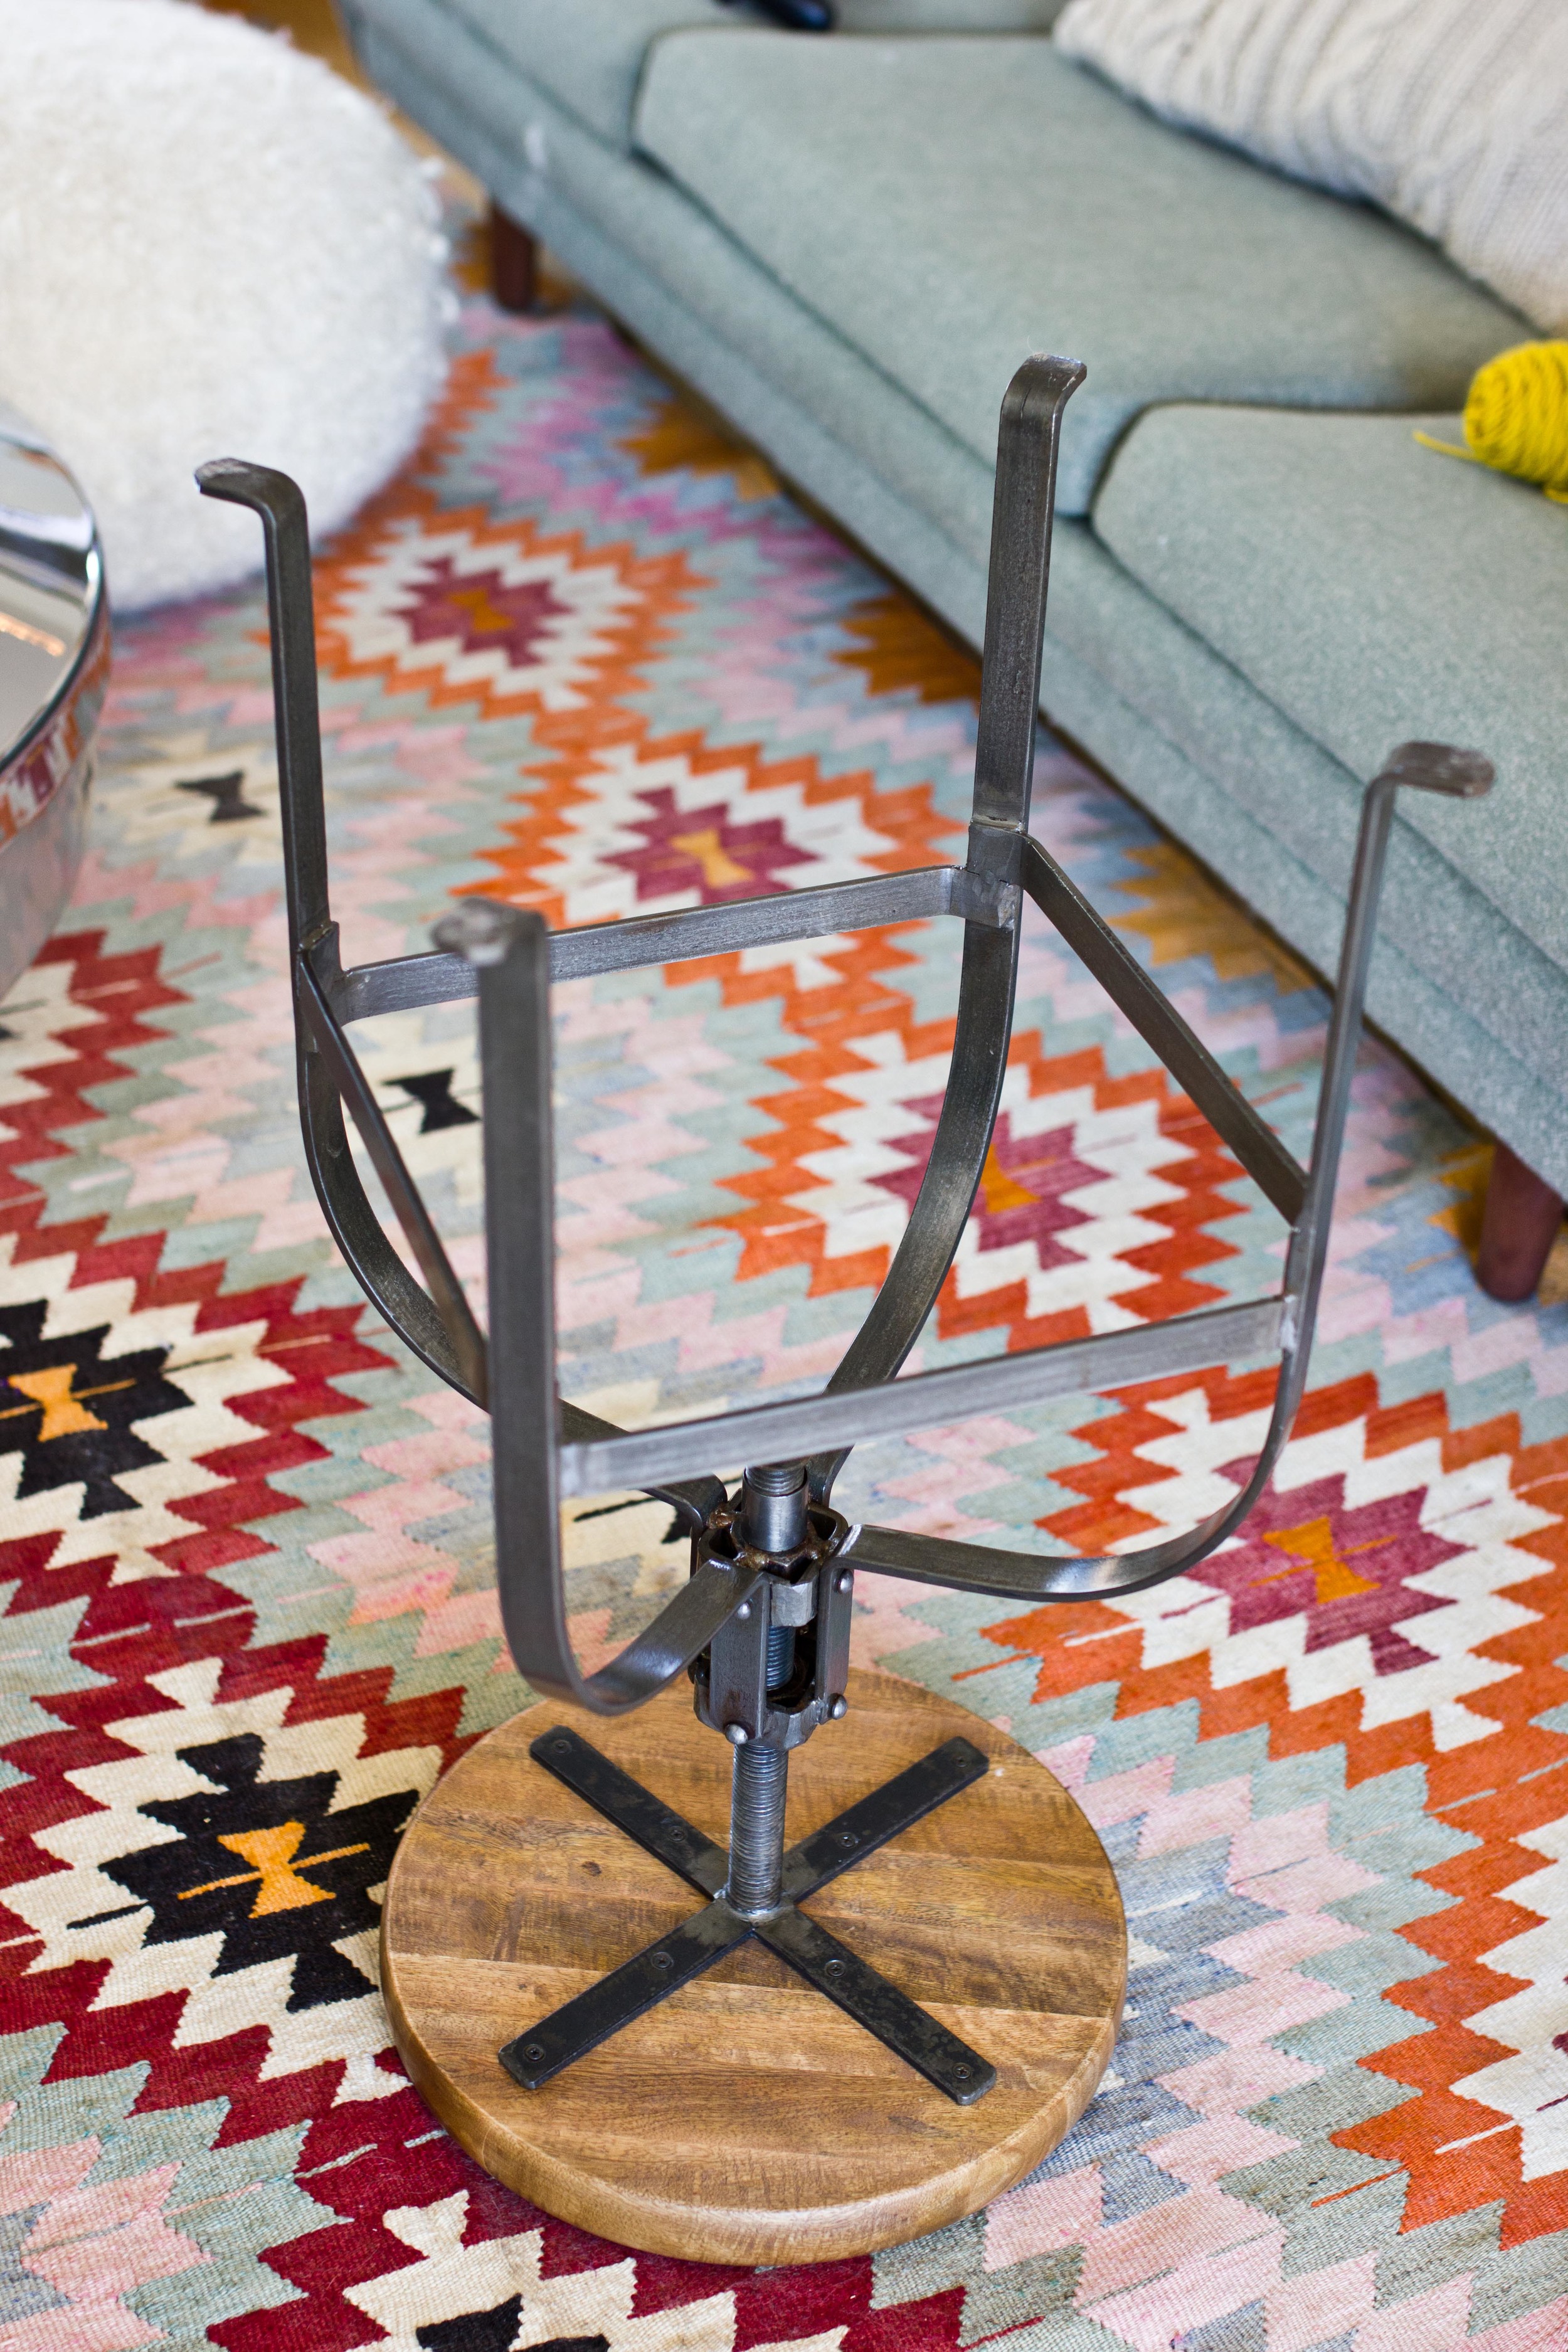
First you will want to find a chair or a stool. I chose this stool because we have a deep psychic connection. Just kidding, it swivels around in circles which will definitely make the process a lot easier.

Then you will want to grab some yarn. You are going to want to use both ends of the yarn. The more yarn the better. 

Tie the end of the yarn to one of the legs of the chair/stool/thing with legs.

Start wrapping that yarn around and around. Don't pull it too tightly and do not get dizzy.

This is where I like to throw the yarn onto the floor like a diva. The yarn likes the floor. It unravels much faster that way. Just leave it down there. 

Ok, now back to wrapping.
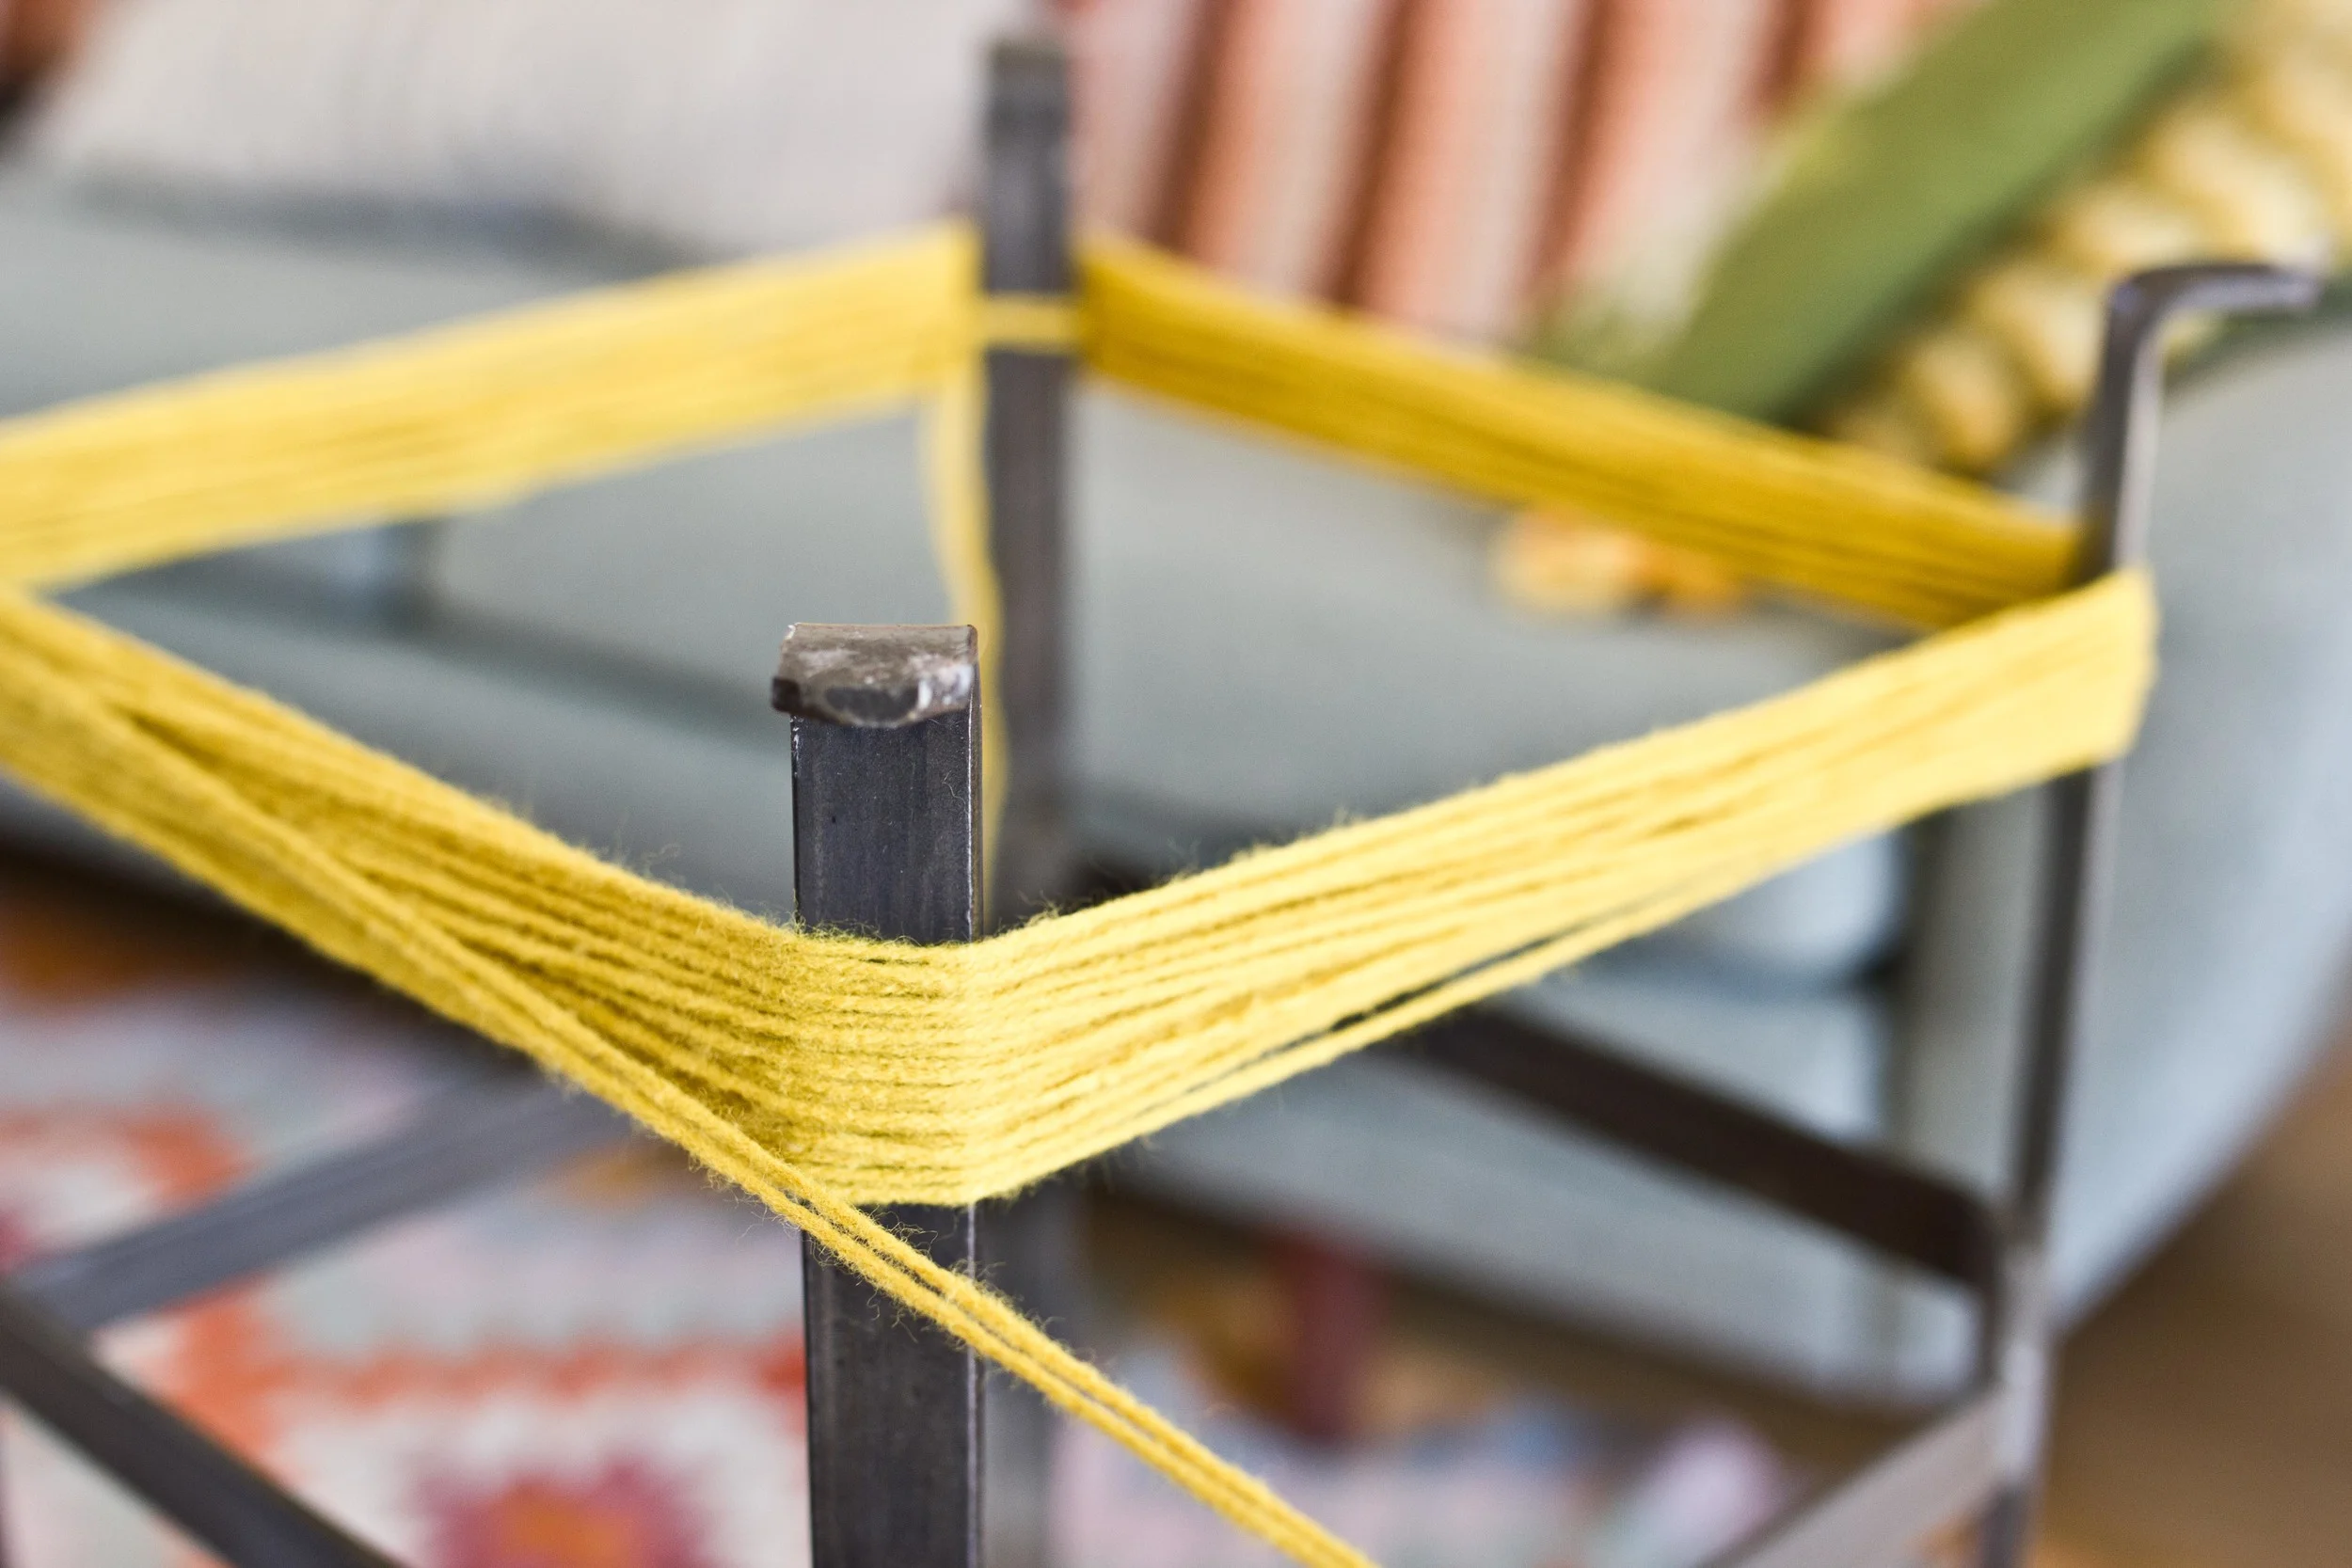
Keep going.

OKAY that's probably enough.

Now, cut two short pieces of yarn, put them together and tie them around the lovely spool of yarn you just made. It's SUPER important that you use two pieces together, so it'll be strong enough to hold.

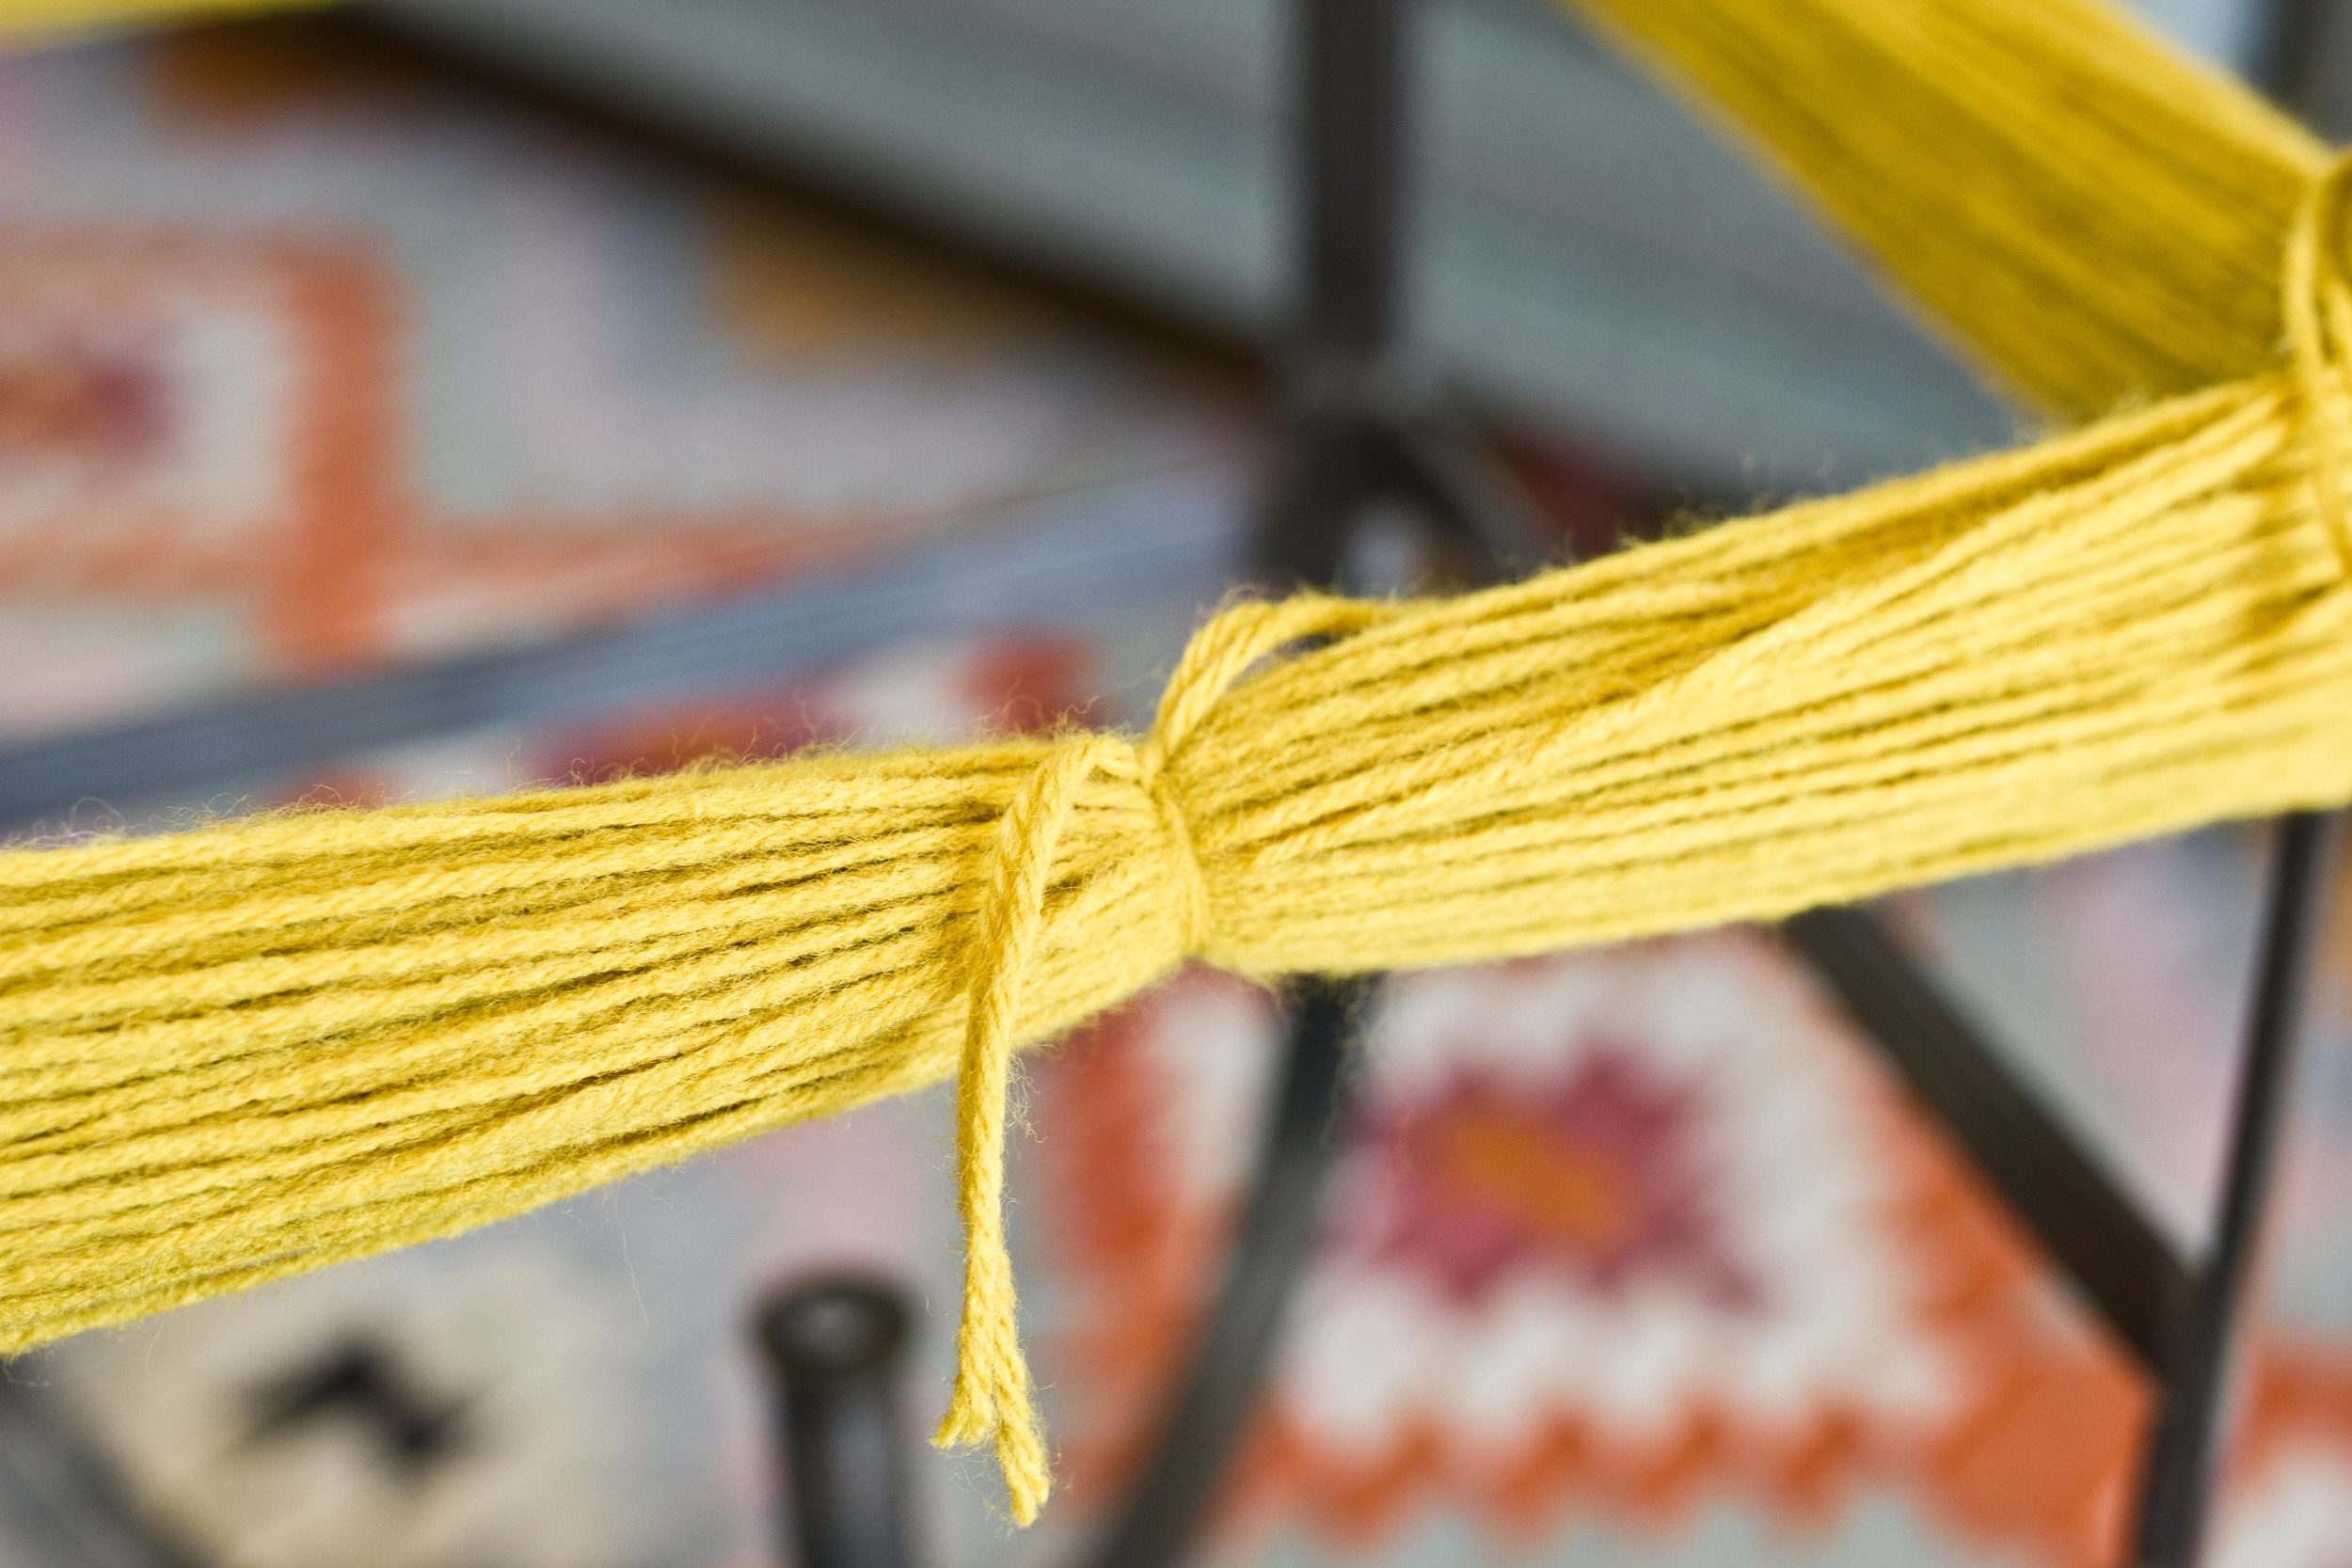
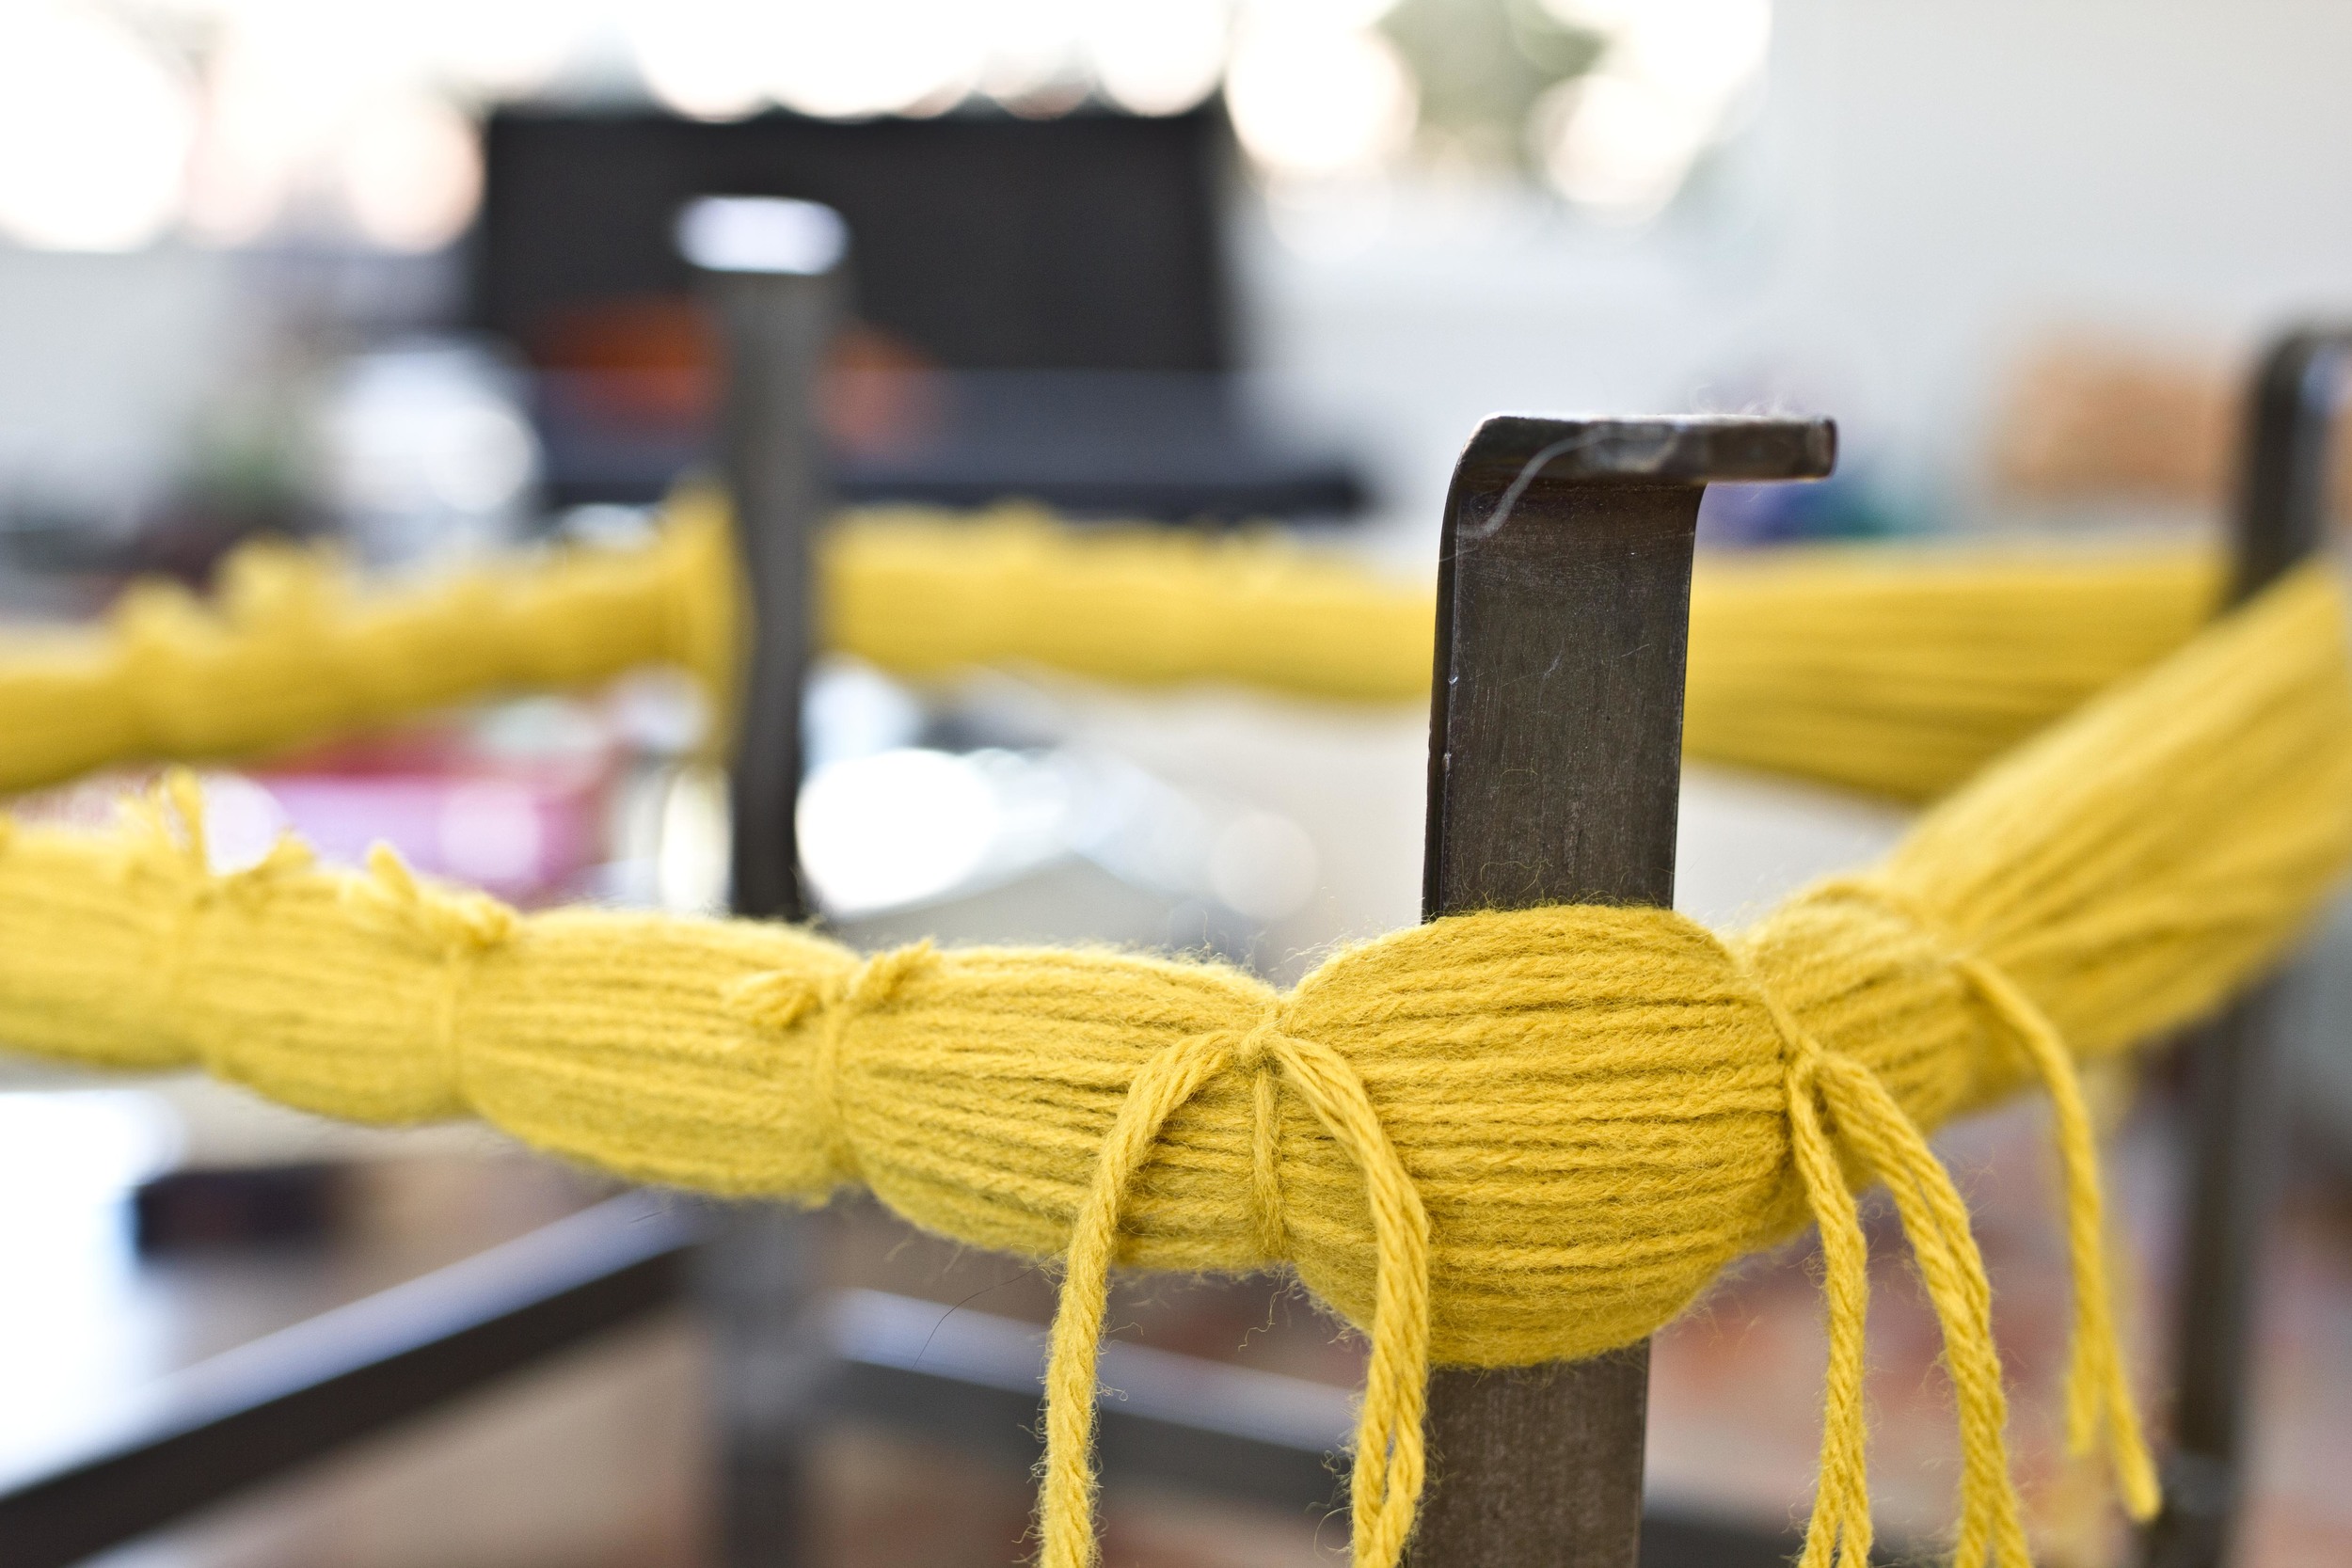
Tie them incrementally all the way around, about 3 inches apart. If you want to be sure all of the pom poms will be equal in size and density then be sure your knots are equidistant. 

Don't let those pesky corners get the best of you. Show them who's boss.

YAY! We made it all the way around. 

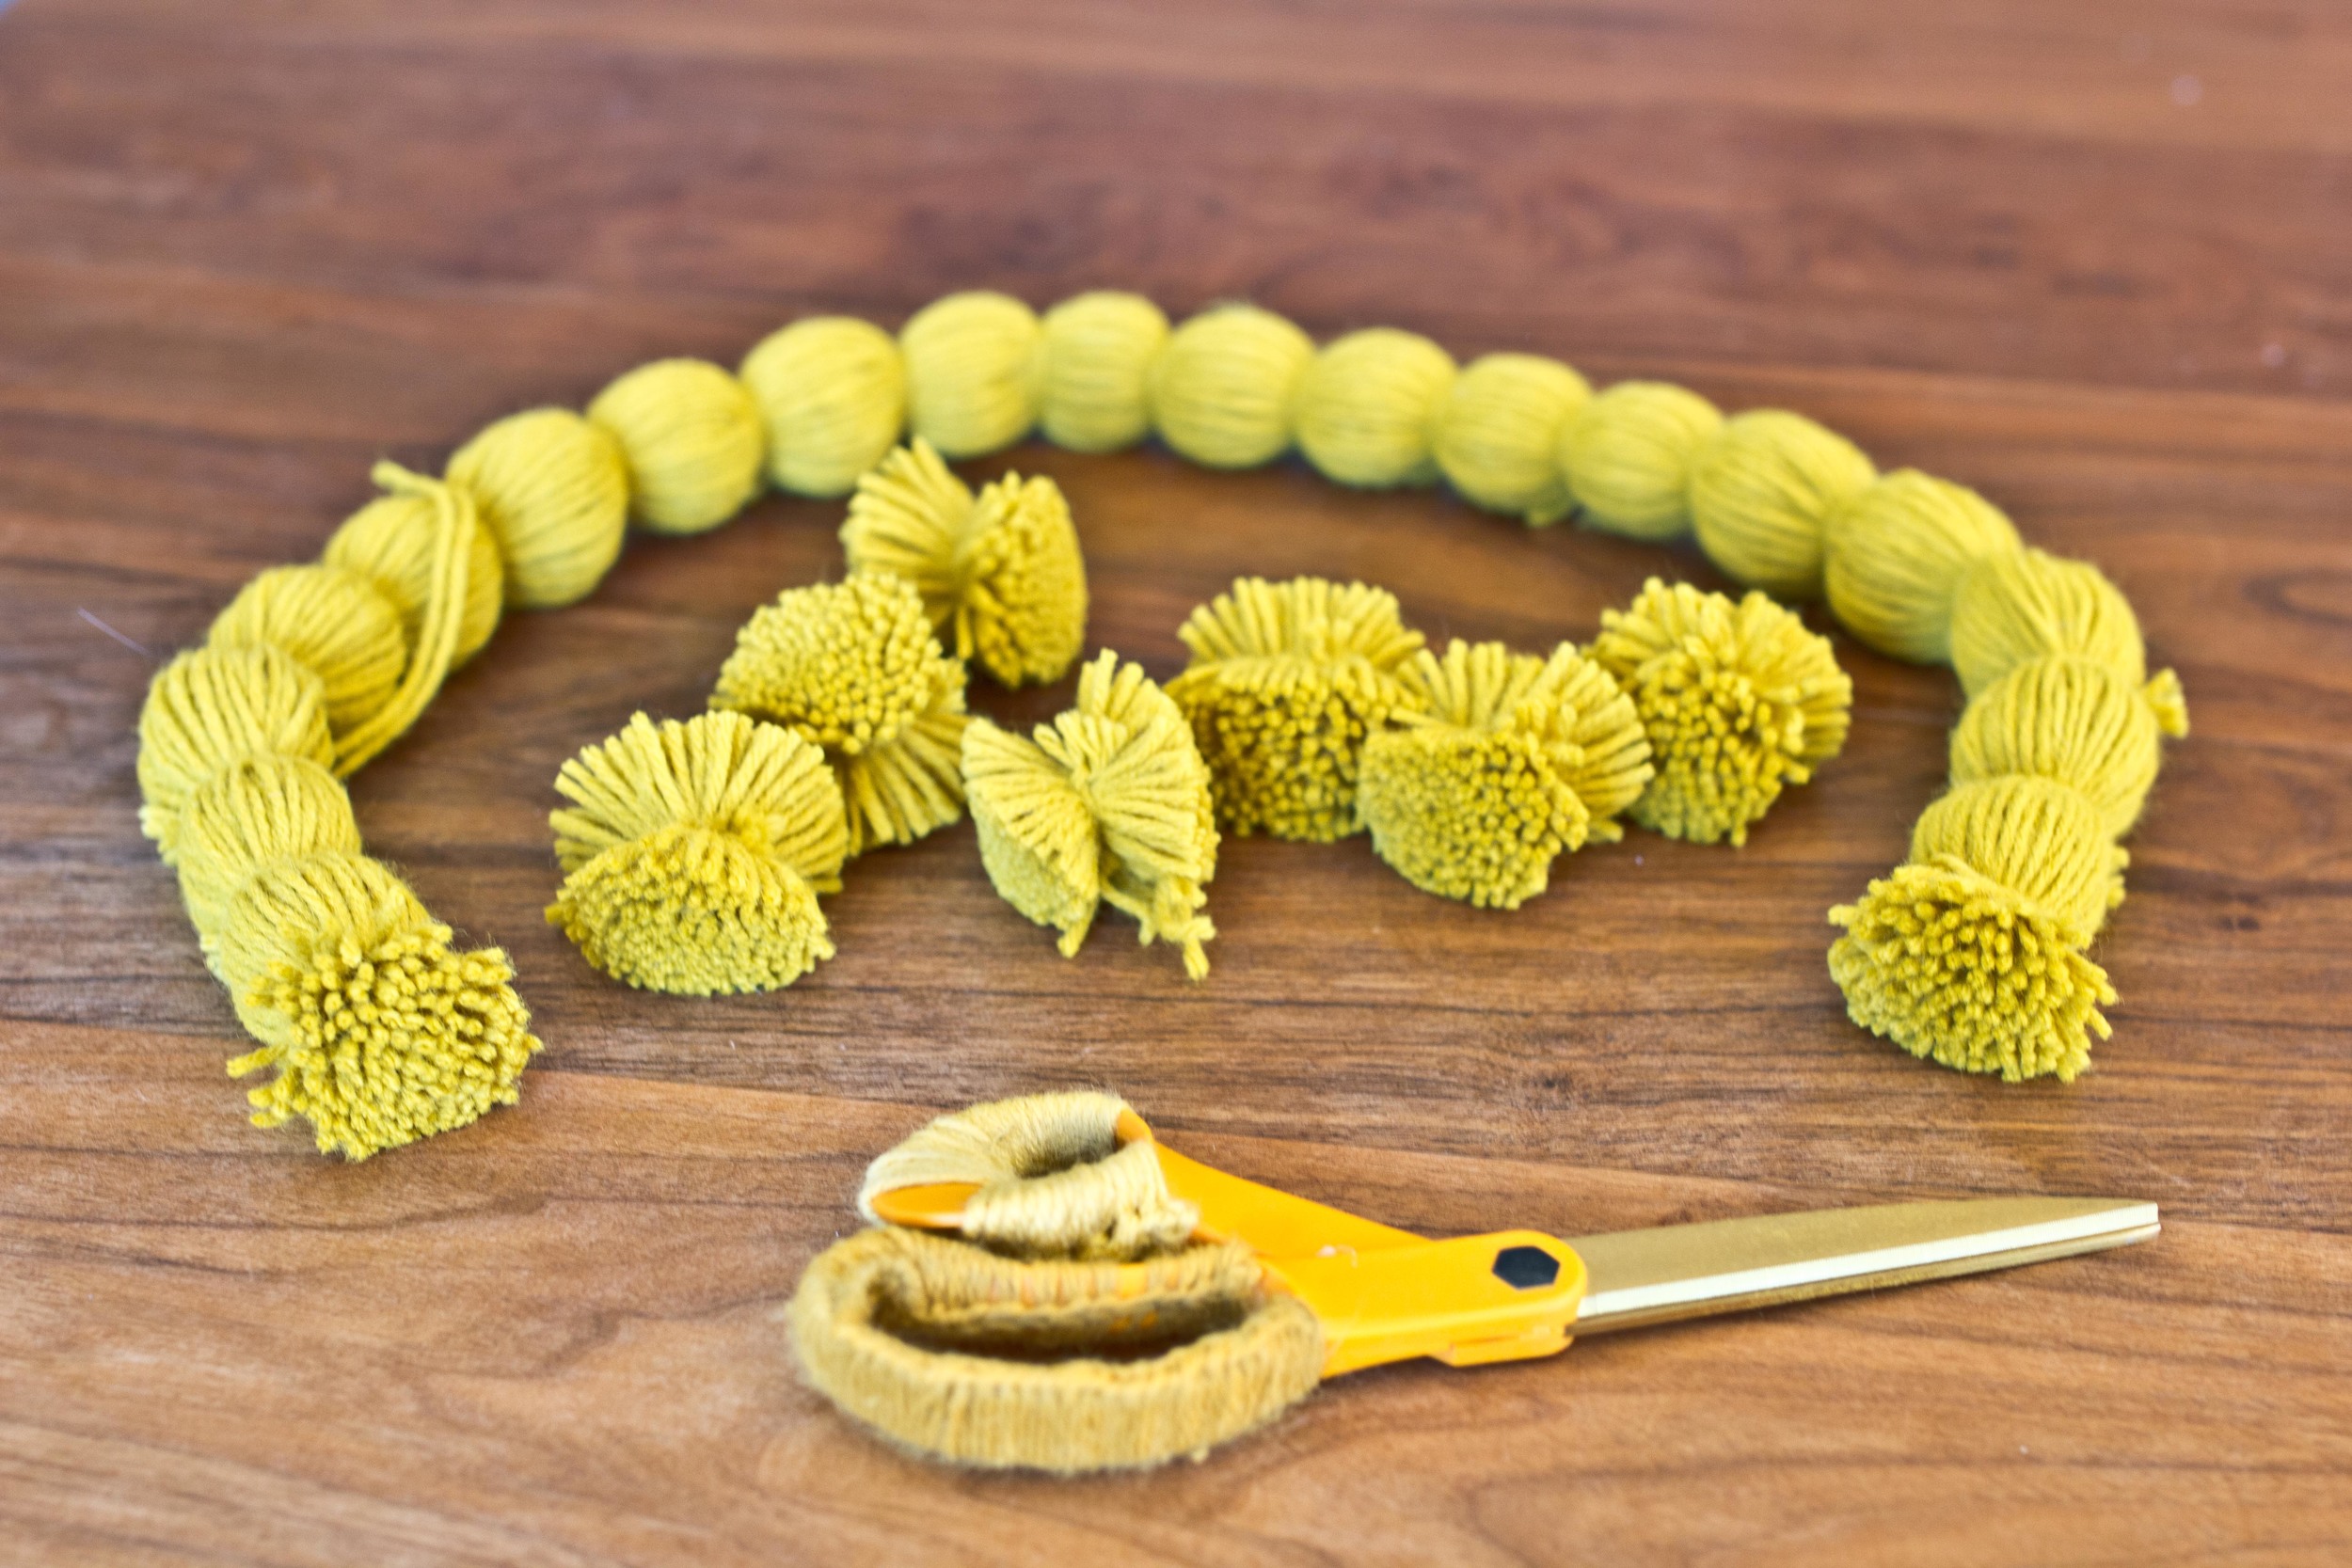
Now get your scissors. 

What would life be like without scissors?

Now you have what appears to be an intestine made of yarn. You could stop here if that's what you're going for.

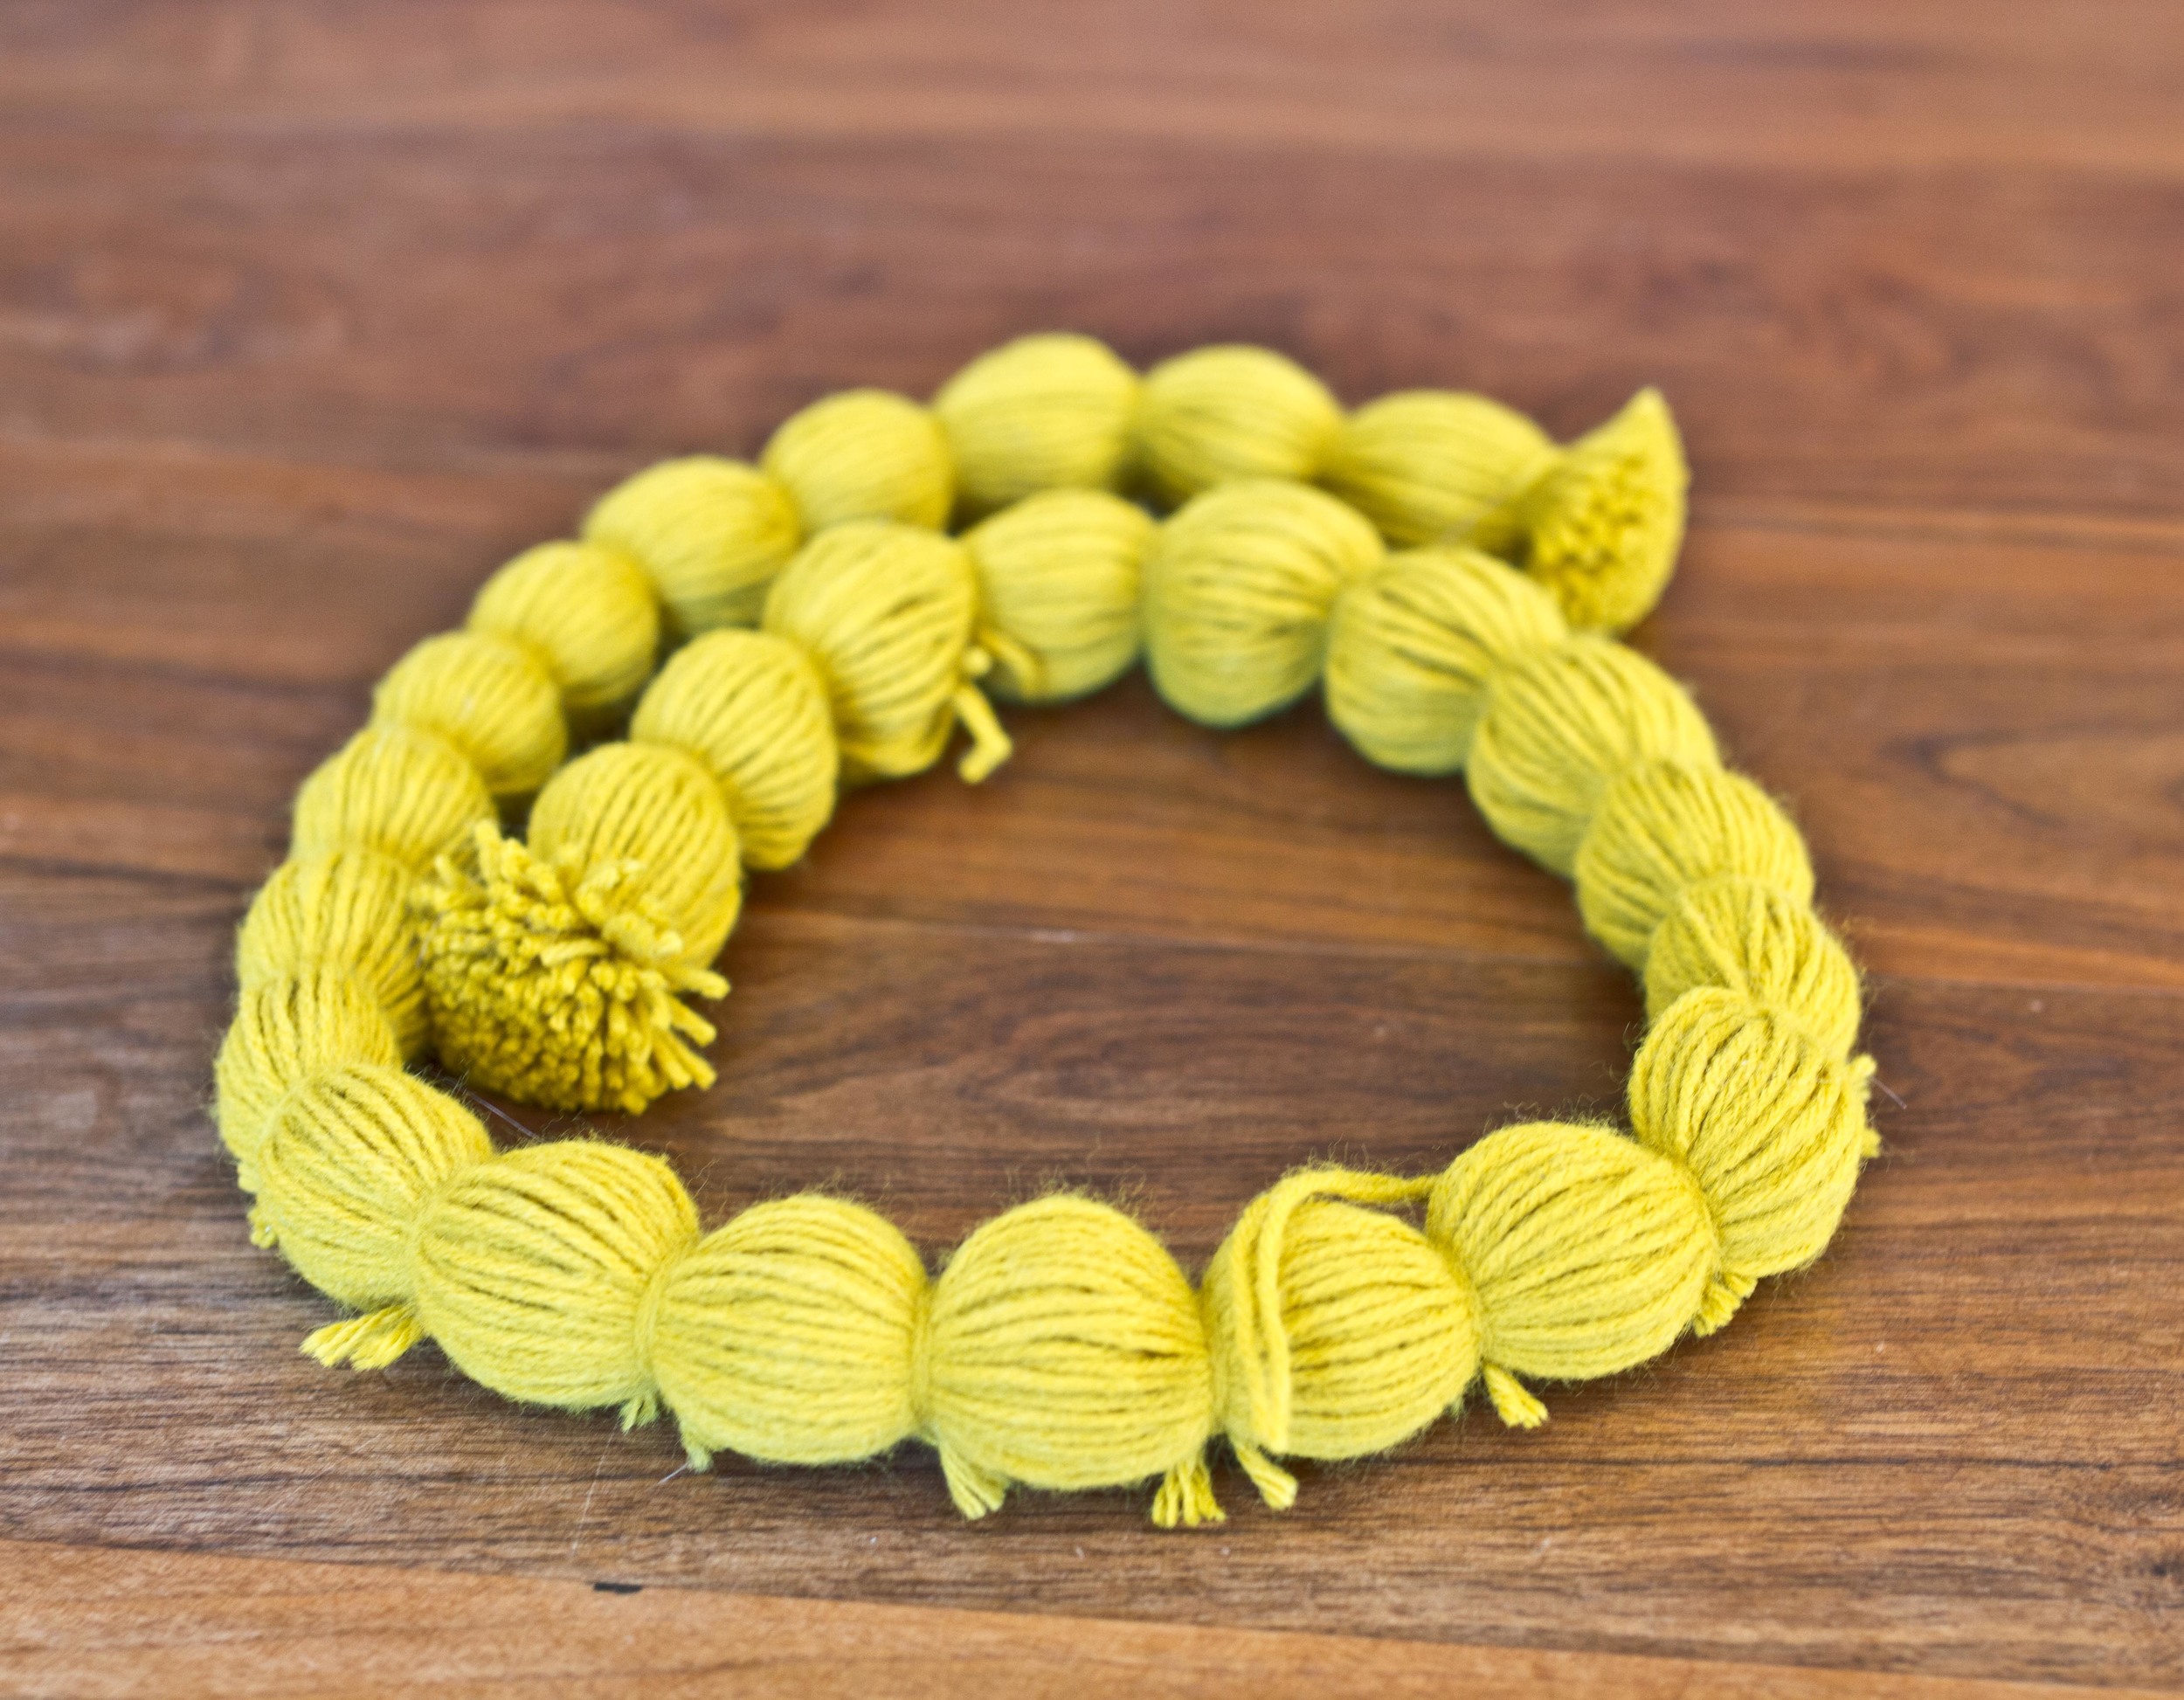
 You see what's happening here, right?

My scissors were jealous that they were only included in one photo, so I let them pose in another. 

Yeah. No. Just cut in between the knots, all the way around. 

Keep chopping.

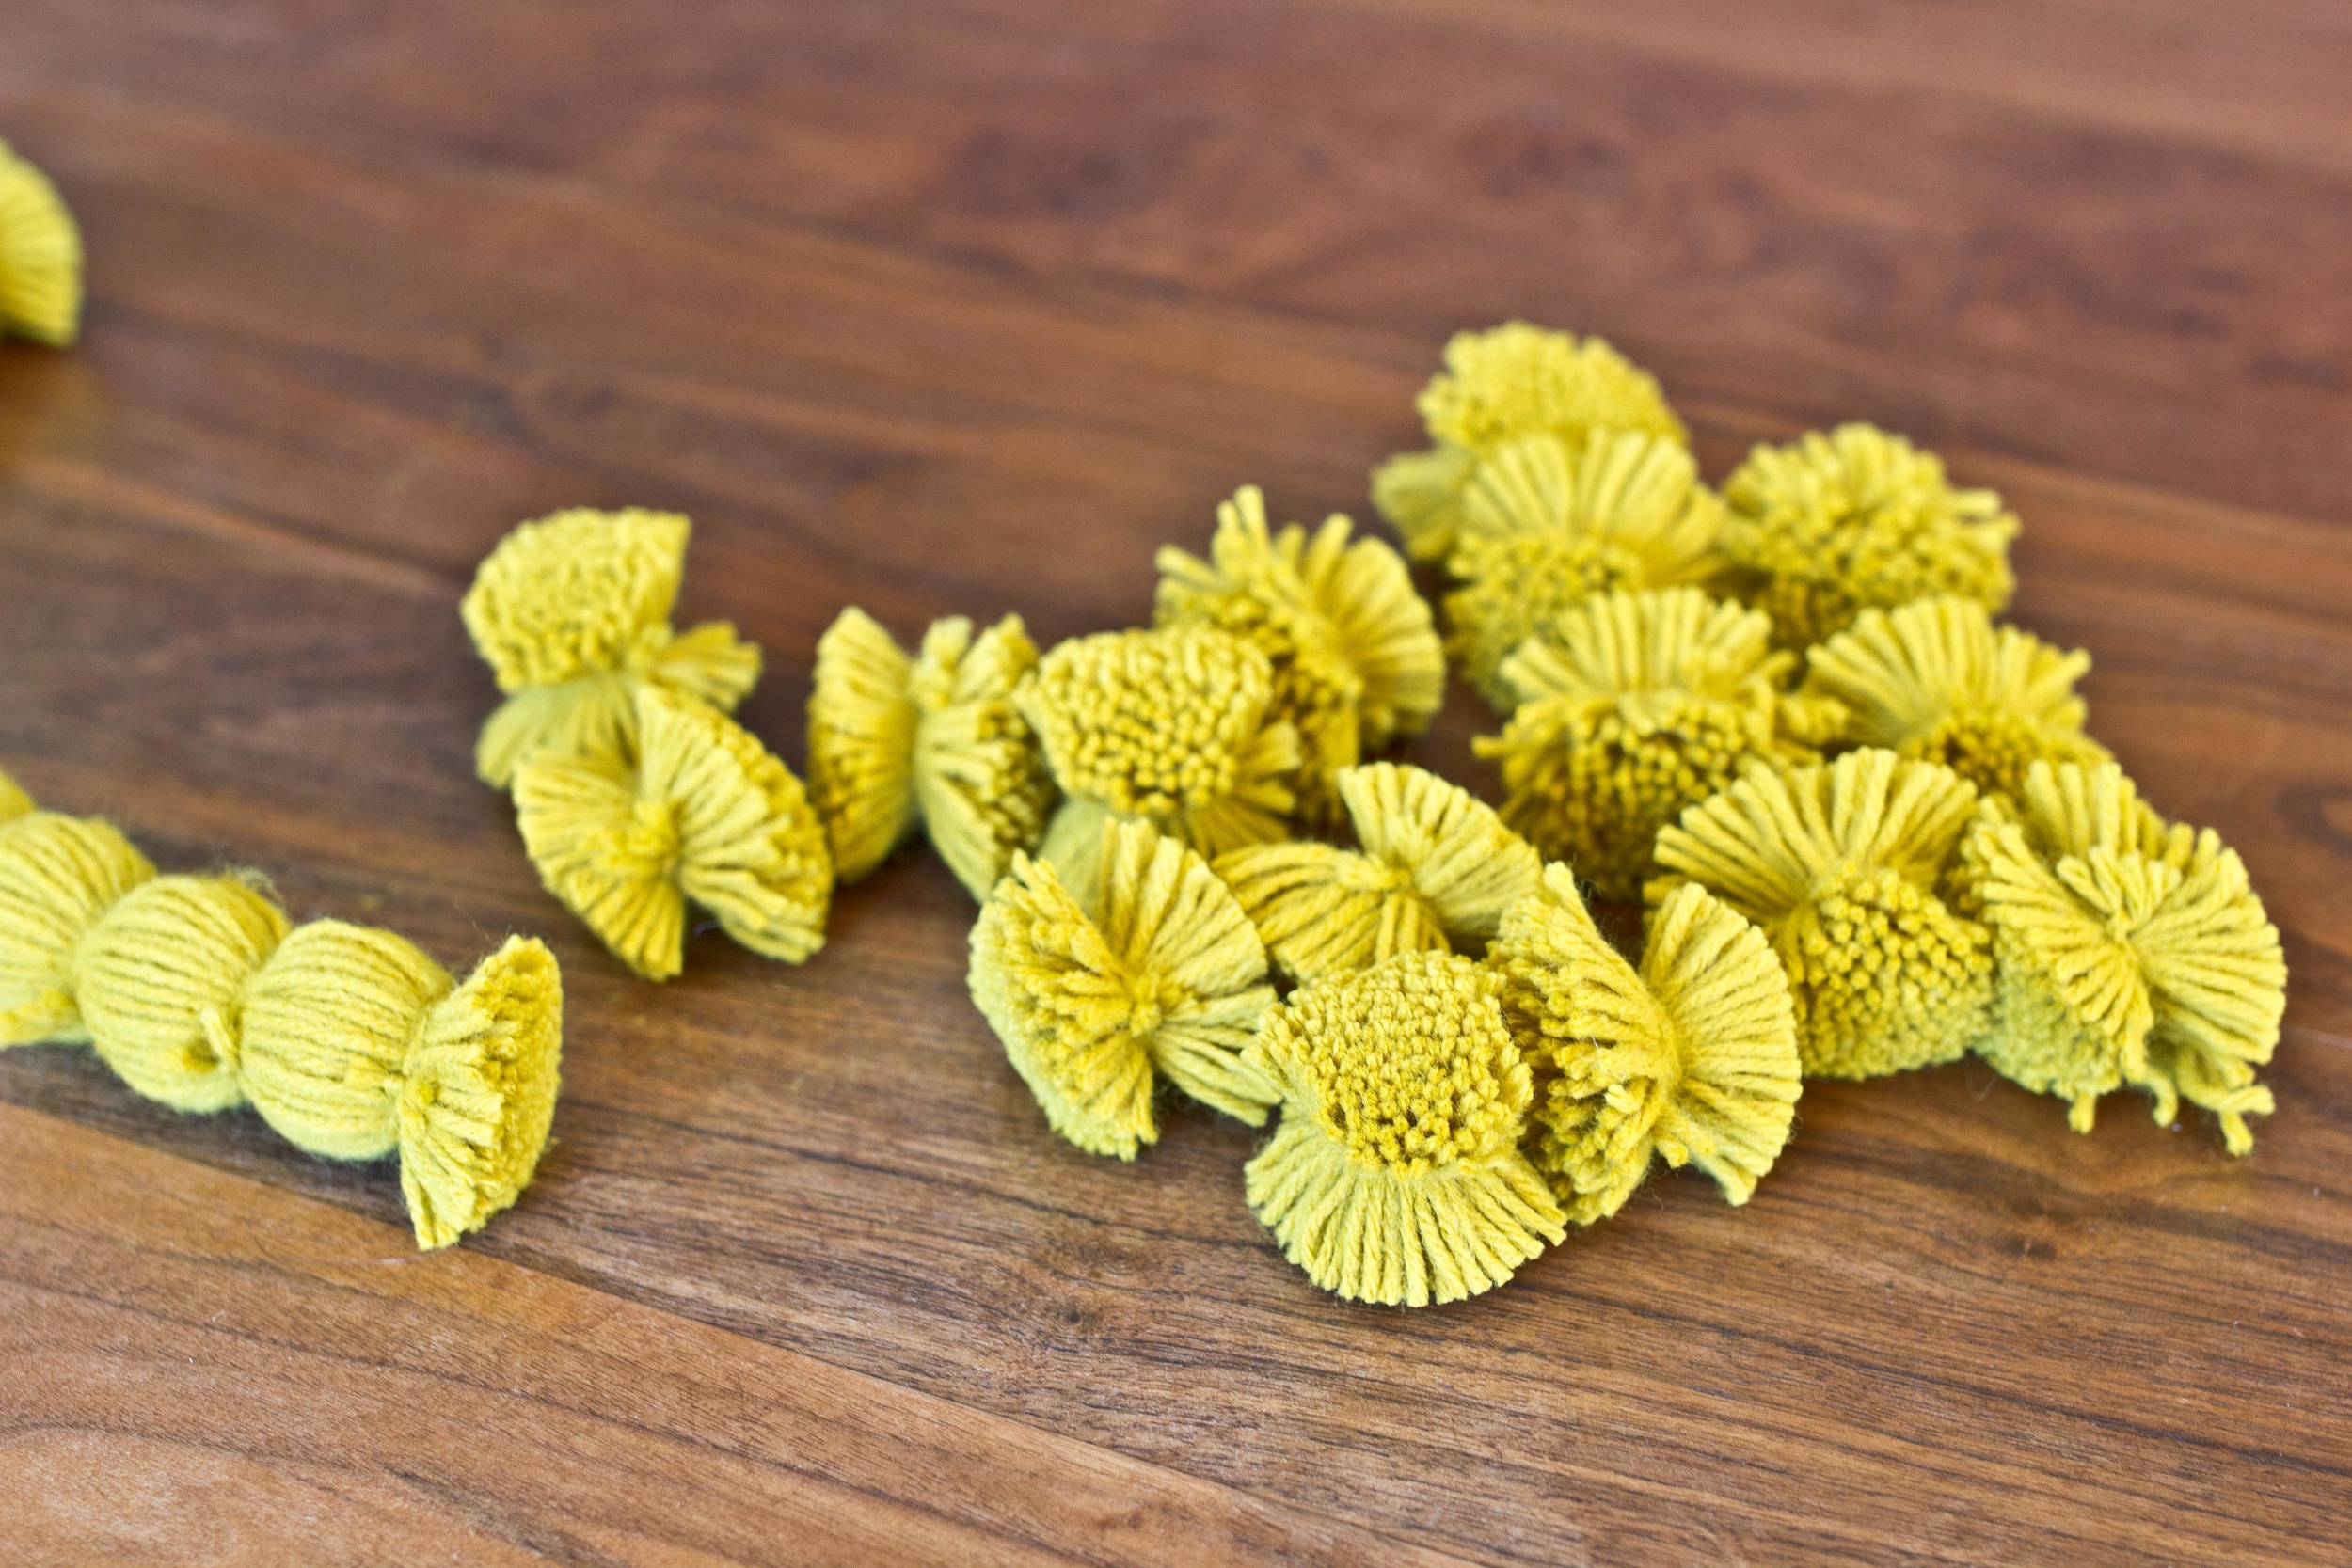
Oh look! The last one looks like a piece of candy (don't eat it).

These are my lovely friend Gracie's hands. She just happened to show up for a visit at the perfect time for me to use her fingers. Mine are busy holding a camera. 

Snip snip snip all around the edges to get the perfect ball shape. 

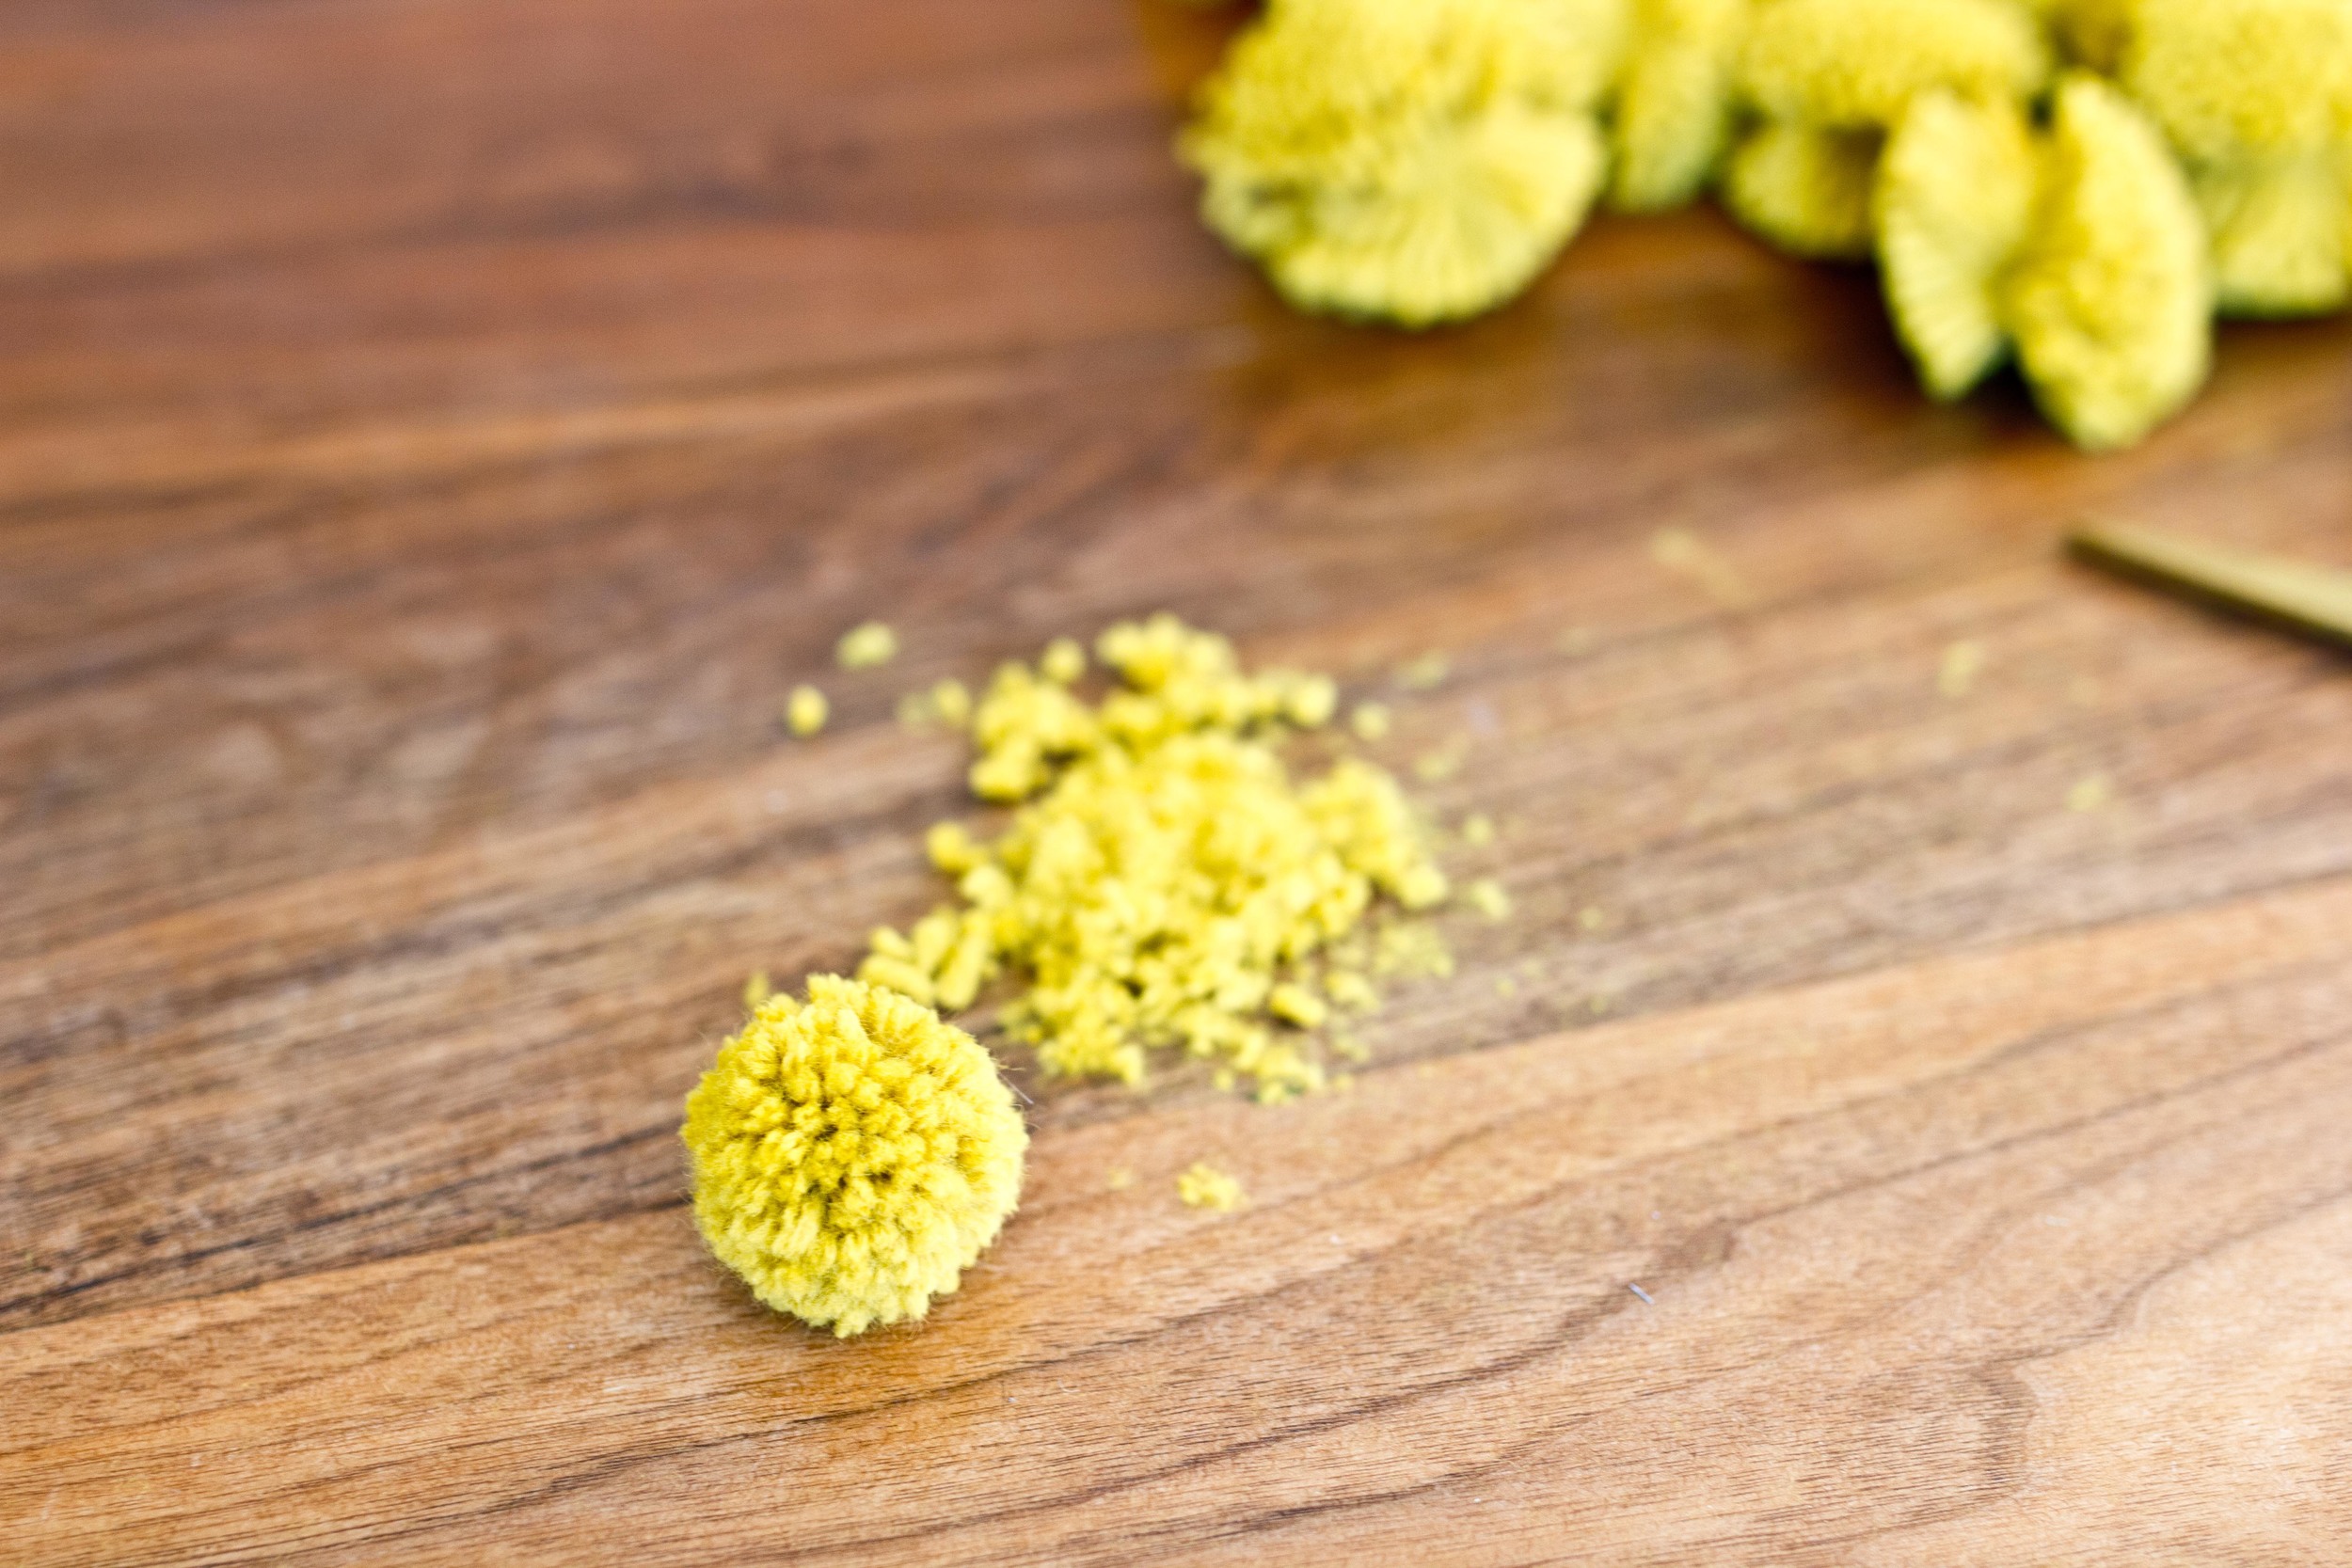
YAY! YOU DID IT! YOU'RE AMAZING!

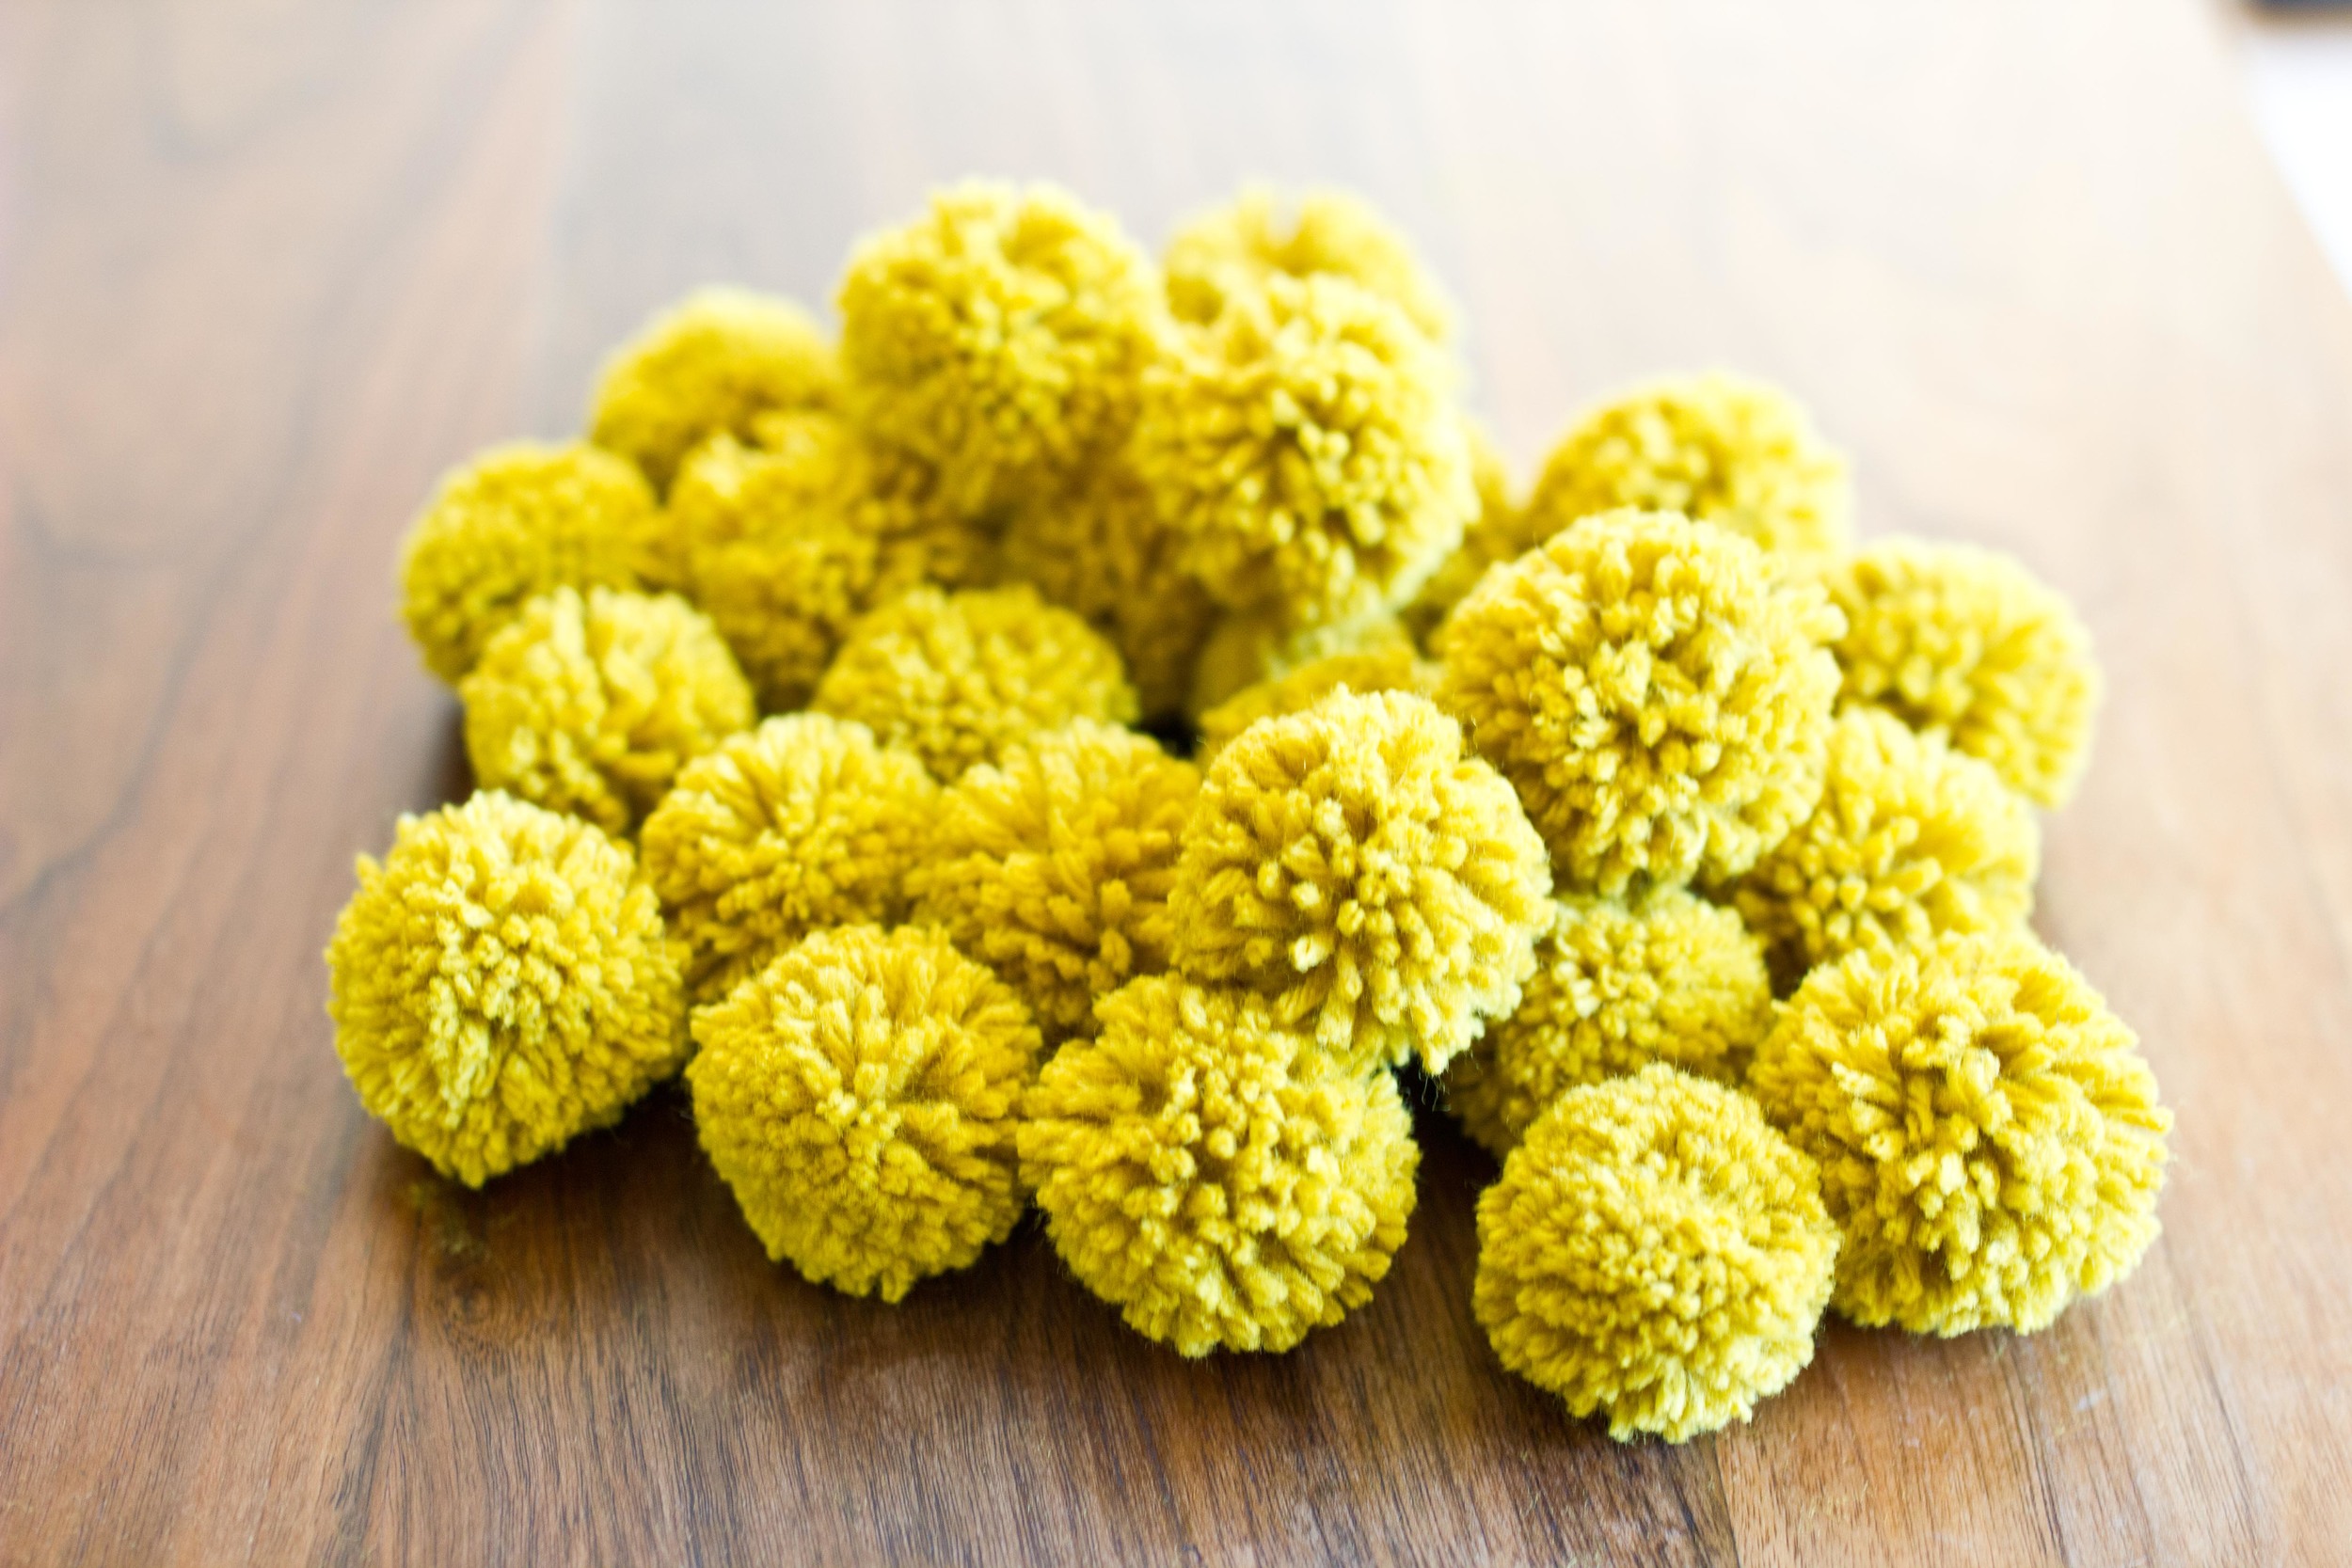
Now that you have 12 tons of pom poms you can bury your dog in them. If they're anything like my dog, it'll be a dream come true.

A few important things to know:

The more yarn you wrap around the legs and the wider apart you tie the knots, the larger your pom poms will be. 

The less yarn you wrap and closer together you tie the knots the smaller they will turn out. 

Feel free to leave any questions in the comments!

signature.png
Follow my blog with Bloglovin


In tutorial, pom poms Tags fastest way to make pom poms
3 Comments

hi tree tutortial in issue 11 of Crafty Magazine!

February 18, 2014

Hi friends!

Exciting news! I wrote a tutorial for this super cutes log bag so that you can make one all by yourself. So now you don't need me to make you one any more. All you need to do is go pick up a copy of Crafty Magazine Issue 11 at Barnes and Noble or download a digital copy in the itunes app store and get your sewing on. Email me if you have any questions! 

crafty 1.jpg crafty 2.jpg crafty 3.jpg crafty 5.jpg crafty 6.jpg
In tutorial Tags crafty magazine, log bag, tutorial
Comment

How to make fabric sew in labels {without a printer!}

October 4, 2010

Here I go, all giving away my secrets and stuff. This is a pretty awesome secret, I have to say, when I discovered I could do this it CHANGED MY LIFE and saved me millions of dollars. Ok, fine, not millions, but hundreds at LEAST and could easily be thousands. Okay enough about that, you get the point.

This blog post is about how I make fabric sew in labels for my trees, hats, fanny packs, keychains.... EVERYTHING. The BEST thing about making tags using this method is that you can customize each and every tag/label specific to the item you will be putting it on. Say it with me........ yaaayyyy!

This is what you need:

* bias tape, ribbons, trims, fabric pieces.... etc....

* a stamp {with your name, logo or whatever you want on the label}

*oil based stamp pad / pigment stamp pad (nooooo water-based!)

* scissors

* umm, thats it

OKAY I know you are sitting there with all your materials ready so ill get on with it.

FIRST choose the fabric and/or ribbon you want to print your name or logo onto. It can be ALMOST be anything, ribbon, strips of fabric, bias tape, whathaveyou (although waterproof-ish materials don't work so good). You want the ink to be able to absorb into the fabric a little bit. (twill works GREAT)

My personal favorite is store bought single fold bias tape like this! (I use it for almost everything)

{sidenote: I would recommend NOT cutting the desired length until you have already printed onto the bias tape (or whatever you choose to print on)}

Next, get your stamp.

This is my stamp, it looks REALLY funny, I know. To make my stamp, I used a Clover felting needle case (this is not really the right way to mount the stamps, but im cheap, so it will do) and those fabulous Martha Stewart stamp letters that you pull apart and make your own words with (there probably is a name for them, but I don't pay attention to such things, clearly) you can buy some at Michael's. (In the paper craft section) There are proper blocks for mounting the stamps on that you can also purchase, coincidentally, also at Michael's.  The moral of the story: your stamp does NOT need to look this ghetto and you can find everything you need at Michaels. 

Once you have your stamp all sorted out, bust out that fancy stamp pad and start stamping until your heart is content.

For making multiple labels on one strip of ribbon or fabric, I have found that spacing the stamps about 2.5 inches apart from each other leaves plenty of room to cut and sew around the whole label.

Last but certainly NOT least, cut out your tag and sew it into your stuffed unicorn. (SO sweet of you to make me a stuffed unicorn! Please send to 333 Magicalforest lane, LaLaLand, Ca 90042)

Here are some examples of labels I have printed on random bits of ribbon, bias tape and fabric I have found laying around. The options truly are endless, and it is really nice to not have to rely on someone else to make your labels.

Here are some examples of how i use my home made labels 

trees!

ear hat

fanny pack

tote bags 

Now, go knock yourself out! Feel free to leave any questions in the comments below!

P.S. need a custom stamp? or ink? There are many stamp makers on etsy! You would be surprised how affordable they are! Here are a few sellers i found with a simple search:

scribblingclub.etsy.com

terbearcollectibles.etsy.com

sweetpaperie.etsy.com

RubberStampPress.etsy.com

{and of course there are many many more!}

In tutorial
7 Comments

Latest & Greatest


This is a block field

You can put any content in here.

Etiam porta sem malesuada magna mollis euismod. Vestibulum id ligula porta felis euismod semper. Maecenas sed diam eget risus varius blandit sit amet non magna. Vestibulum id ligula porta felis euismod semper.

Powered by Squarespace